

DIY Injection Molding: How To Do Injection Molding At Home
DIY Injection Molding: How To Do Injection Molding At Home
Injection molding is a versatile and widely used manufacturing process in industrial settings, renowned for producing high-precision plastic parts efficiently. However, with advancements in technology and the availability of affordable equipment, DIY enthusiasts and hobbyists can now explore injection molding at home. This comprehensive guide will walk you through the essential steps and considerations for successful DIY injection molding, from setting up your workspace to troubleshooting common issues.
Introduction to DIY Injection Molding
DIY injection molding allows individuals to create custom plastic parts and prototypes without needing large-scale industrial machinery. This process involves injecting molten plastic into a mold to form precise shapes and designs. While it may seem complex, you can achieve impressive results from the comfort of your home with the right tools, materials, and techniques. This guide will help you understand the basics of DIY injection molding and provide step-by-step instructions for setting up and executing your projects.
Essential Equipment and Materials
You’ll need specific equipment and materials to begin your DIY injection molding journey. Here’s a breakdown of what you’ll require:
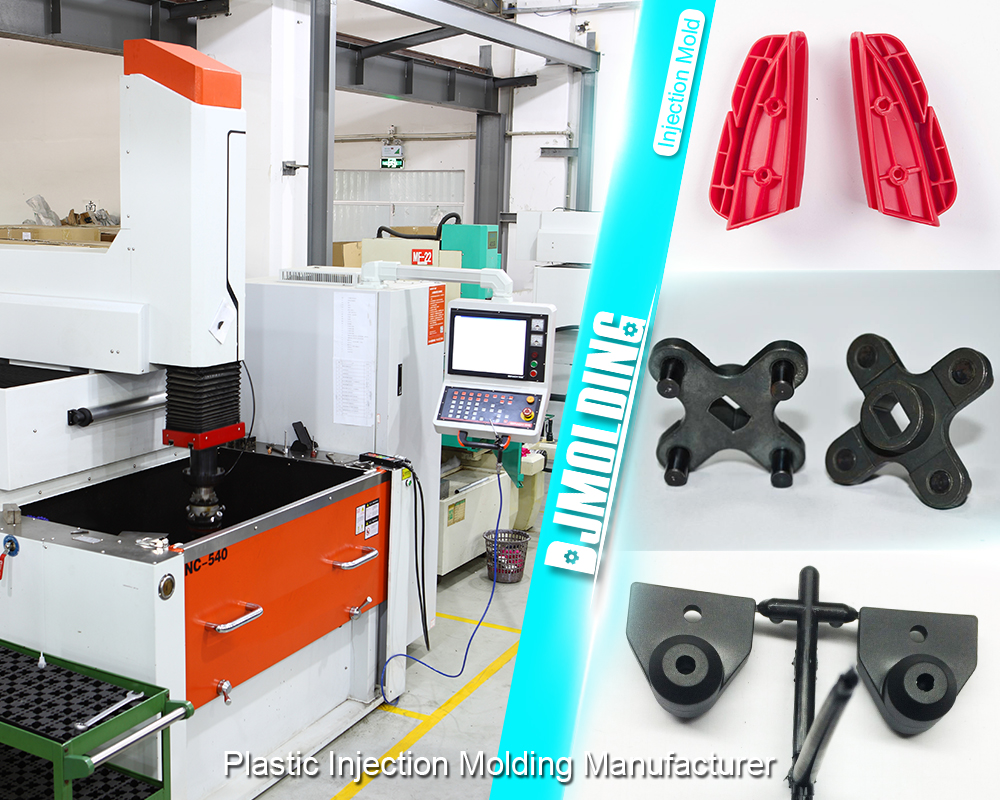
- Injection Molding Machine: Consider a desktop injection molding machine or a DIY kit for home use. These machines are designed to be user-friendly and suitable for small-scale projects.
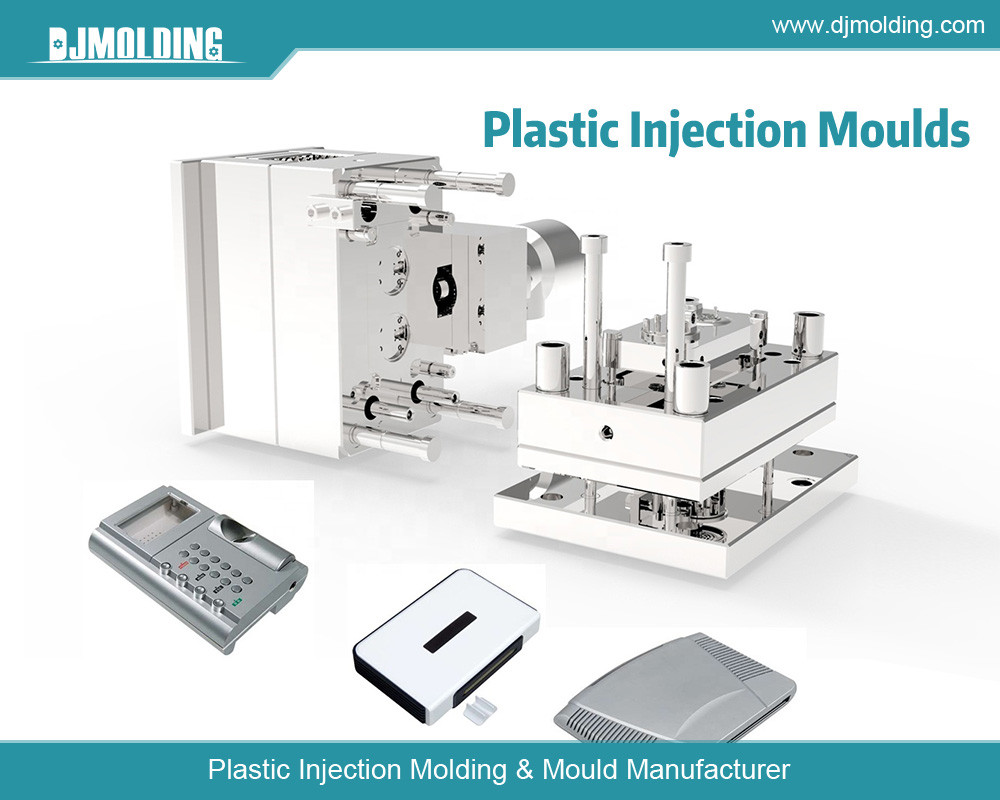
- Molds: Molds are the core of the injection molding process. You can purchase pre-made molds or create custom ones using aluminum, steel, or silicone.
- Plastic Materials: Based on your project requirements, choose appropriate plastic pellets or granules. Standard options include thermoplastics such as ABS (Acrylonitrile Butadiene Styrene), PLA (Polylactic Acid), and PETG (Polyethylene Terephthalate Glycol).
- Heating Equipment: An electric or gas heater will be needed to melt the plastic material before injection.
- Safety Gear: To protect yourself from hot materials and fumes, ensure gloves, safety glasses, and a well-ventilated workspace.
Designing and Preparing Your Mold
The mold is a critical component in the injection molding process, and its design directly impacts the quality of the final product. Here are the steps to design and prepare your mold:
- Mold Design: Start by designing your mold using CAD (Computer-Aided Design) software or sketching it on paper. The mold should include a cavity for the plastic to form the part and a runner system to channel the molten plastic into the cavity. Consider the complexity of the design and whether you need features such as draft angles or venting.
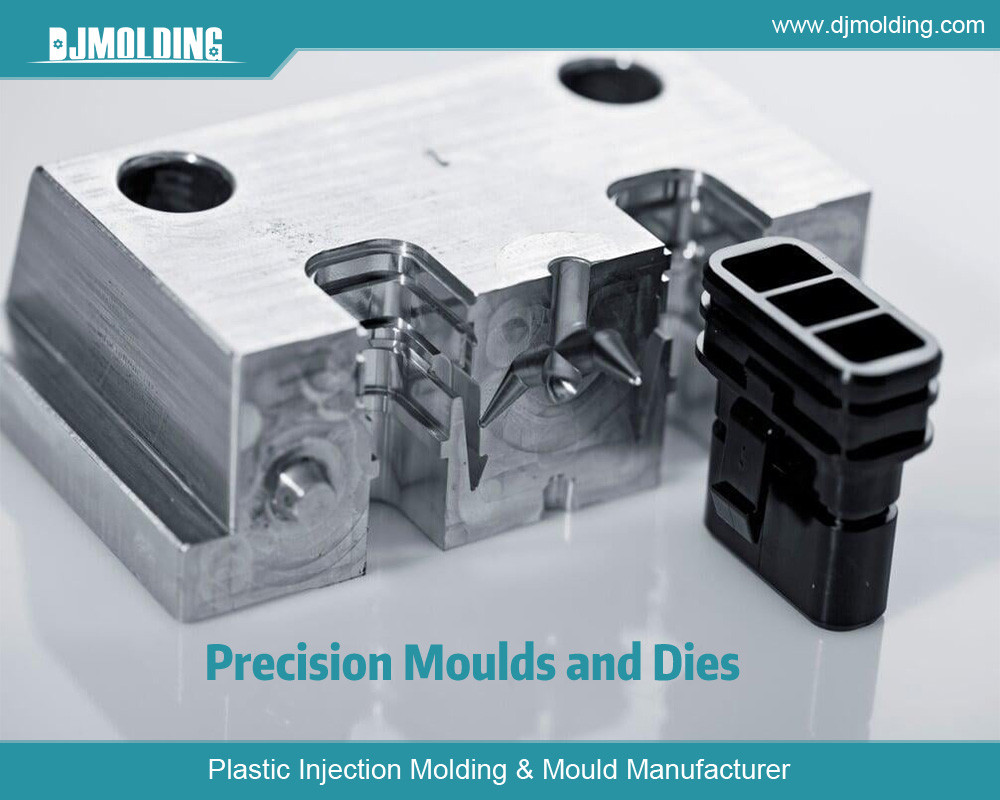
- Material Selection: Choose the material for your mold based on the expected production volume and complexity. Aluminum molds are a good option for beginners due to their machinability and durability. Silicone molds can be an affordable and flexible choice for more straightforward projects.
- Mold Fabrication: Fabricate the mold using appropriate tools and techniques. You may need access to a CNC machine or other precision tools for metal molds. Silicone molds can be made using mold-making kits available online. Ensure the mold is adequately cleaned and prepared before use to avoid contamination.
Setting Up the Injection Molding Machine
Once you have your mold and materials ready, it’s time to set up your injection molding machine. Follow these steps to ensure a smooth setup:
- Machine Configuration: Configure the machine according to the specifications of your chosen plastic material. Set the temperature for melting the plastic, adjust the injection pressure, and calibrate the machine to ensure consistent performance.
- Loading the Material: To avoid defects in the final product, load the plastic pellets or granules into the hopper of the injection molding machine. Make sure the material is dry and free from contaminants.
- Heating the Plastic: The machine’s heating element is used to melt the plastic. Monitor the temperature closely to achieve the correct consistency for injection. Overheating or underheating can lead to poor results or damage to the material.
Executing the Injection Molding Process
You can begin the injection molding process with the machine set up and the mold prepared. Here’s how to proceed:
- Injecting the Plastic: Securely close the mold and initiate the injection process. The machine will force the molten plastic into the mold cavity under high pressure. Ensure the material fills the cavity wholly and evenly to avoid incomplete or defective parts.
- Cooling Time: Allow the plastic to cool and solidify within the mold. Cooling times vary depending on the material and part size. Follow the manufacturer’s guidelines for cooling times to achieve optimal results.
- Ejecting the Part: Once the plastic has cooled and hardened, open the mold and carefully eject the finished part. Inspect the part for any defects or issues. If necessary, perform post-processing steps such as trimming excess material or sanding rough edges.
Troubleshooting Common Issues
DIY injection molding can present challenges, but understanding common issues and their solutions can help you achieve better results:
- Inconsistent Fill: If the plastic does not fill the mold evenly, check for blockages in the runner system or adjust the injection pressure. Ensure the mold is aligned correctly and securely closed during injection.
- Surface Defects: Surface imperfections such as bubbles or wrinkles can result from improper cooling or contamination. Ensure the mold is clean and the cooling process is consistent. Check for any issues with the heating temperature or material quality.
- Warpage or Shrinkage: Warping or shrinkage can occur if the material is not adequately heated or cooled. To minimize these issues, use consistent temperatures and follow cooling guidelines. Consider adjusting the mold design to accommodate material shrinkage.
Safety Considerations
Safety is a crucial aspect of DIY injection molding. Follow these guidelines to ensure a safe working environment:
- Protective Gear: Always wear gloves and safety glasses to protect yourself from hot plastic and potential splashes. Use a face mask if working in an area with poor ventilation.
- Ventilation: Ensure your workspace is well-ventilated to avoid inhaling fumes during heating and injection. Use exhaust fans or work in a well-ventilated area to maintain air quality.
- Proper Handling: Handle hot materials and equipment carefully to avoid burns or accidents. Follow all safety instructions provided by equipment manufacturers and material suppliers.
Applications of DIY Injection Molding
DIY injection molding opens up various possibilities for creative and practical applications. Here are some ways you can use this technique:
- Prototyping: Create prototypes for product development or design validation. DIY injection molding allows you to test and refine your designs before committing to large-scale production.
- Custom Parts: We manufacture custom components for repairs, replacements, or unique projects. Whether you need an appliance replacement part or a custom-designed piece for a hobby, injection molding can provide precise and functional results.
- Creative Projects: Craft parts for model building, toys, or decorative items. DIY injection molding offers the flexibility to produce intricate, personalized designs that enhance your creative projects.
Conclusion
DIY injection molding empowers hobbyists and DIY enthusiasts to create custom plastic parts and prototypes from home. By understanding the fundamentals of the process, selecting appropriate materials, and setting up the right equipment, you can achieve impressive results with this versatile technique. Whether designing prototypes, manufacturing custom parts, or exploring creative projects, DIY injection molding offers a rewarding and practical way to bring your ideas to life. With careful planning, attention to detail, and a focus on safety, you can successfully master the art of injection molding and enjoy the benefits of this innovative process.
For more about diy injection molding: how to do injection molding at home, you can pay a visit to Djmolding at https://www.djmolding.com/molding-service/ for more info.
